Table of Contents:
Overview:
In this video, we will try to make a single channel gateway with Wemos D1 mini pro and RFM95 module. First of all, we will make hardware for the gateway, then we will program it. Later we will register the gateway on The Things Network Server. Then we will configure the gateway to communicate with The Things network server. Finally, we will test the gateway with the LoRa END nodes, which we have developed earlier tutorials.
So, Let’s see how we can do that.
Video Tutorial: How to make single-channel LoRa Gateway?
This article is also available in the format, if you wish you can watch the tutorials as mentioned here. due to the long length of the video, I have divided them into two parts, you find them here.
Part1 DIY LoRaWAN Gateway with RFM95 & Wemos D1 mini Pro
Part2 DIY LoRaWAN Gateway with RFM95 & Wemos D1 mini Pro
Required components:
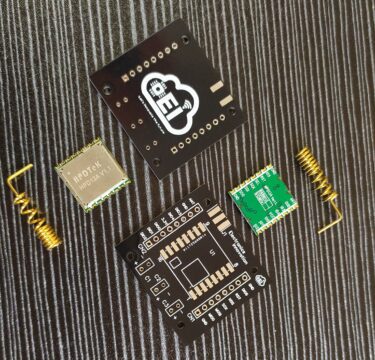
- RFM95 modules along with Breadboard friendly PCB breakout boards – 1
- WeMos D1 Mini Pro (ESP8266)
- Breadboard / Vero board
- Connecting wires
- Casing (optional)
Making RFM95 Lora transceiver PCBWay.com
This RFM95 LoRa transceiver module does not breadboard friendly, which means we cannot solder these 2.54mm male headers to it, or we can place it neither breadboard nor Vero boards. So, I have designed a PCB to make it breadboard-friendly. We can extend the SMD pads of RFM95 with Male headers as shown here. So, that we can place it on both Breadboard and Vero board.
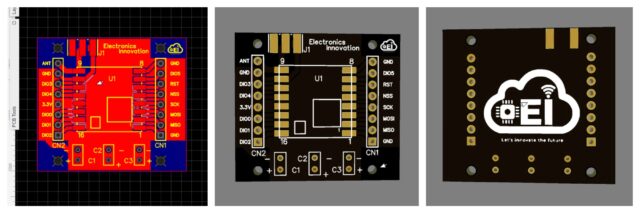
The PCB looks something like that below. The RFM95 module can be soldered on SMD pads. In 3D view PCB looking gorgeous right.
I have generated Gerber files and saved them into the available folder.
PCBWay:
I have ordered the PCB on PCBway.com, PCBway.com is an online printed circuit board manufacturing enterprise that turns your DIY breadboard circuits into professional PCBs at just 5 dollars.
PCBWay.com offers all services you need to make Hardware for your IoT or Embedded Devices.
If you have a similar requirement, do check out their website for more details using this link.

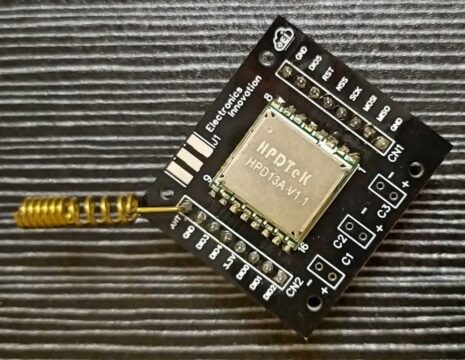
Later I have soldered the RFM95 module on the received PCB boards. I have clearly explained this process here. If you wish to have a look check it.
Circuit Diagram:
Interface WeMos D1 Mini Pro with RFM95 module as shown in the circuit below.

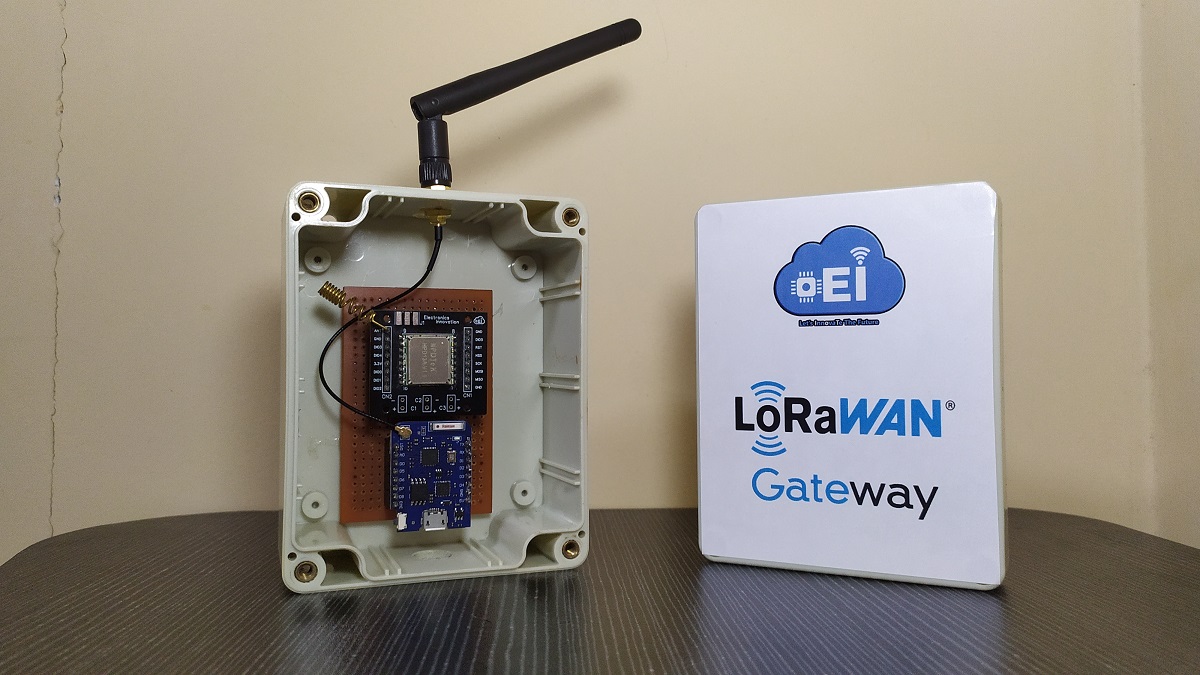
After connections & securely placed inside of the casing, the circuit might be something like this.

So, The hardware for the Single channel is ready, now let’s jump into the programming part.
Programming:
First of all, visit this GitHub repository & Then download the code. Once the file is downloaded successfully extract it. Then open the folder. there will be two folders one is the library and the other is LoraWAN Gateway. we need to copy the libraries to the Arduino Libraries folder. Select all libraries present in the Libraries folder and copy them. Then go to the Arduino/libraries directory and simply paste them. After completing this process come back to the LoRaWAN Gateway folder and open the .ion file with Arduino IDE.

This is the code for the Single channel gateway. before uploading this code to wemos d1 mini pro, first, we need to make sure that you have installed the ESP8266 board’s plugin in the Arduino Ide.
For that go the preference from the file menu, and make sure you have added the following link in the additional board’s manager URL.
http://arduino.esp8266.com/stable/package_esp8266com_index.json
Then go to the following directory, Tools, Boards, and Boards manager. now search for ESP8266 and install the 2.7.1 version. There are the latest versions also available, but this code is not tested with the newest versions. So, I suggest using the following version. close the window.
Then go to the following directory, Tools, Boards, and ESP8266 boards, and you will find the LOLIN(Wemos) D1 mini pro, select that board.

Now, connect the gateway to the laptop using any USB interface. Then check the uploading configurations board Lolin wemos D1 pro and select the right port. keep the rest of the settings default or as shown here.

Then hit the uploading button.
Once the uploading process is completed, open the serial monitor with 9600 baudrate.
If you see the following text on the serial monitor. Starting WAN System…ok and Starting Lora Module….Ok
Congratulations… you have successfully programmed the single-channel gateway…

Now the gateway will create an access point, we can connect to the access point and configure the gateway to talk with The things network server.
Connect to the access point created by the gateway by entering the password 12345678.

once the connection is successful, open your favorite browser and hit the following IP: 192.168.4.1, then the following administration page will appear, input the universal administration credentials user name admin and password also admin, Then login.

Now, you will experience the beautiful home page of the gateway management portal as shown below.
Here will make this gateway connect with the available wifi network, then we will configure the gateway to communicate with TTN, we will also register the gateway in the TTN platform. I have explained this process clearly in the tutorial video while showing the different steps. I suggest you watch that video, as it is difficult to explain the process verbally. this link will directly take to the video.
After completion of the process mentioned in the video, Now, come to the things network server and you can see here, the last seen of the gateway is a few seconds ago, which means our gateway successfully connected to the things network server and it is communicating seamlessly. The Live data log also shows that it has received the gateway status metrics.

So, with this information, we can say that our Single channel gateway successfully connected and communicated with The Things network server.
Now, let’s test this gateway, whether it will receive the lorawan data packets and forward them to the network server.
go to the applications, As you can see here, we have some devices already registered and communicated with the Things network server. So, for testing purposes, I will activate one of the devices and see whether the gateway will receive that data and forward it to the things network.

So, I have activated that gateway and you can see that the last scene of the device is a few seconds ago and we have received a few data packets from the device. we keep on receiving the data packets seamlessly,
if I open a data packet we can see that this is the raw encrypted data we have received, and the decoded payload here, we can aslo see the gateway id and gateway eui from here.

So, with all the proofs we can proudly say that our single channel gateway is doing its duty perfectly and working seamlessly without any errors.
So, That’s it for this tutorial, We have successfully made a single channel gateway with Wemos D1 mini pro and RFM95 module and configured it to communicate with The things networks server, also tested with lorawan devices we have developed earlier.
Stay tuned to electronics innovation for more interesting videos on LoRaWAN, See you soon… Bubyeee…
Hello Thank you for the tutorial. Why this code is not working with latest libraries?