Table of Contents:
Overview:
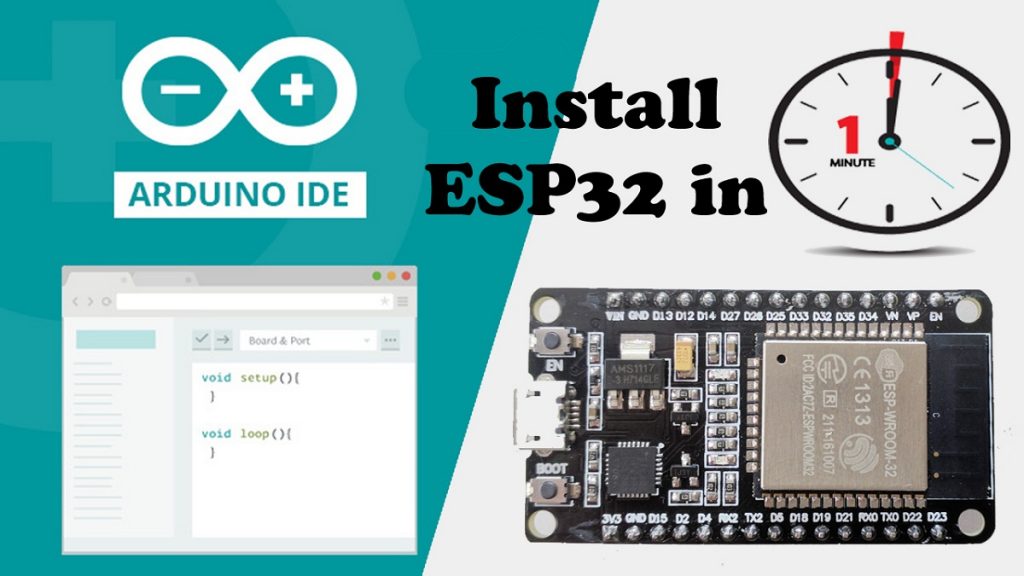
In this tutorial, I will tell you how to install ESP32 in less than 1 minute. An add-on is available on the internet for the Arduino IDE that allows us to program the ESP32 using the Arduino IDE and its programming language. The process for the Operating system like Windows, Mac, and Linux are the same.
Requirements:
- Latest Arduino IDE Installed in your machine.
If you don’t have Arduino IDE installed on your machine, kindly download & get installed from the following link and comeback. Arduino IDE software Downloading page
Note: Linux users should download the IDE file according to the machine bits like (32 bit, 64bit)
Installing ESP32 Add-on in Arduino IDE:
Please find the step by step instructions below.
Step1:
In your Arduino IDE, go to File> Preferences

Step2:
Enter https://dl.espressif.com/dl/package_esp32_index.json into the “Additional Board Manager URLs” field as shown in the figure below.
Note: if you have already added the ESP8266 boards URL or any other URL, you can separate the URLs with a comma as follows.
https://dl.espressif.com/dl/package_esp32_index.json,http://dan.drown.org/stm32duino/package_STM32duino_index.json, http://arduino.esp8266.com/stable/package_esp8266com_index.json

Step3:
Make sure that you have configured the network settings. If your computer connected to a mobile phone hotspot or WiFi router without proxy you can check for either No Proxy or Auto-detect proxy settings. Similarly, if you are using an internet connection with a proxy check for Manual Proxy Configuration and provide the proxy details. Then, Tao on the “OK” button. In my case I am using my mobile phone internet, so configured with Auto-detect proxy settings.

Step4:
Open the Boards Manager. Go to Tools > Board > Boards Manager…

Step5:
Search for ESP32 and press install button for the “ESP32 by Espressif Systems“

Step6:
That’s it. The Add-on for ESP32 will be installed after a few seconds. After a successful installation, you can close this window.

Step7: Testing the Add-on Installation
Now Come back to Tools. Go to Tools > Board and search for ESP32 Dev module or ESP32 Wrover module
If you are able to find the above-mentioned boards, Congratulations. You have successfully configured your ArduinoIDE with ESP 32 Board Add-on. Now you can program your ESP 32 withAdruinoIDE.

You can check out the following link to connect your ESP32 with Amazon Web Services(AWS)
Project: Temperature Data record on AWS IoT Core with NodeMCU-ESP32 using Arduino IDE and MQTT Protocol.
[…] Install ESP32 Add-on in ArduinoIDE in 1 minute […]
[…] Install ESP32 Add-on in ArduinoIDE in 1 minute […]
[…] Installing ESP32 Add-on in ArduinoIDE in 1 minute […]
[…] Install ESP32 Add-on in ArduinoIDE in 1 minute […]
[…] Install ESP32 Add-on in ArduinoIDE in 1 minute […]
[…] Install ESP32 Add-on in ArduinoIDE […]
[…] Install ESP32 Add-on in ArduinoIDE in 1 minute […]
[…] Install ESP32 Add-on in ArduinoIDE in 1 minute […]
[…] Install ESP32 Add-on in ArduinoIDE in 1 minute […]
[…] Install ESP32 Add-on in ArduinoIDE in 1 minute […]
[…] Coming to the programming part, Here Is the code for IoT-based Covid Patient Blood Oxygen monitor with ESP32. As we are using, ESP32 module, we should have the ESP32 add-on installed on our Arduino IDE, if you don’t know how to install it, follow this article. […]